reating a home style that is uniquely yours isn’t that easy to do these days. Unless you’ve been lucky enough to be able to design it yourself, the chances are that your floor plan is exactly like your neighbour’s. And with most elements of décor being purchased off the peg, unless you have a particularly strong artistic streak, it’s hard to make your décor your own. That’s one of the reasons why ceramic wall lights have become such a big deal.
To the casual observer, the typical ceramic wall light is nothing special; an understated, plain white, unglazed fitting. It’s as anonymous, impersonal an article as you’re ever likely to find. But, for those with an imagination, it’s a way to make your décor shine.
How? Why? Because, in essence, the ceramic wall light is an illuminated blank canvas.
How to Paint a Ceramic Wall Light
Whether you’re looking for an unobtrusive finish, with the aim of blending your lighting into your wallscape, or aspiring for something avant-garde, with each light fitting presenting a miniature work of art, the decorating processes is broadly the same. And you can create your own look, whether you’re working with existing fittings or new ones.
One note of caution though: if you’re working with pre-fitted wall lights, you must turn off the electricity supply before you begin work, and give them a good sanding down and clean before you even think about painting. For the best finish, it’s also recommended that you remove the lights from the walls, to avoid uneven coverage and cracking.
So, note of caution issued, let’s get down to business!
Ceramic wall lights can be decorated in two ways: 1) spray paint, 2) emulsion. Which ever you choose to use, the steps are basically the same.
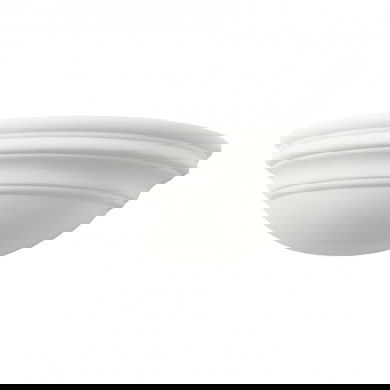
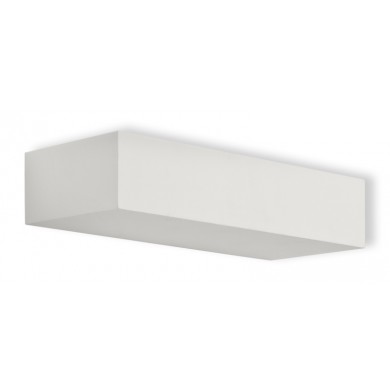
1. Check the fitting for any obvious sanding marks. Lights, such as the First Choice Lighting White Plaster 60W E27 Wall Light With Rocker Switch (pictured above) will have been professionally finished to deliver a clean surface, which should remove this step for you, but it’s always best to check. If marks are noticeable, a light sanding with P600 sandpaper will resolve the problem.
2. Remove any dust or residue with a tack cloth.
3. Apply a spray primer to seal the ceramic surface. One coat is usually enough.
4. Apply your paint. If using spray paint, check that it is compatible with your primer before you begin work. If using emulsion, you can apply with either a brush or roller. Brush work will often affect the texture of the finished light, however, and multiple coats may be required.
5. Let your imagination loose!
6. Apply a clear topcoat to preserve your work.
The great thing about ceramic wall lights is that you can use them singly or in groups. Unobtrusively, or as focal points. And you can use them to make your home utterly yours.

You could have a plain white wall, illuminated by clusters of small white plaster wall lights painted in contrasting tones; teal, grey and mauve for a sophisticated feel; primary colours for joie de vivre.
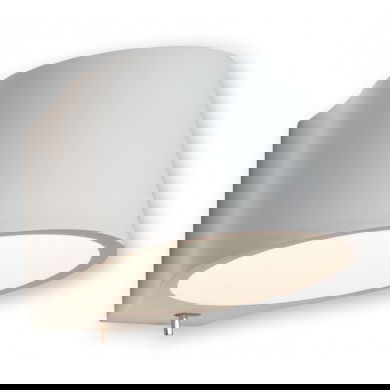
You could have a large, curvy wall washer, primed and painted bright white, with a hand-finished scene of naïve flowers, or polka dots. You could have stripes. If you’re clever enough with a paint brush, you could recreate an art deco style. In short, you can do pretty much anything.
That’s why WE love the ceramic wall light. And why so many other people are now switching on to their potential.