Gallery walls are a design feature that is popping up in homes and businesses all over the place at the moment, and it looks like they are here to stay. Thoughtfully assembled, they are an ideal way to display the prints and photos that tell your personal story. Whether documenting your travels, showcasing your favourite family shots, or simply highlighting some treasured prints, a gallery wall is the ideal way to do it.
First choose your theme. Do you want your gallery wall to tell a story? Is it going to be specific to your family? Or is the wall to be designed for a common space with many users? Choose your prints around this specific theme and ensure they all from the same colour palette. Black and white prints can work very effectively in creating a simple gallery wall, while bolder colours add a vivid burst of colour to draw the eye to your display. Choosing prints in different sizes will give your wall an eclectic look, alternatively you can go for uniformity by keeping your prints the same size.
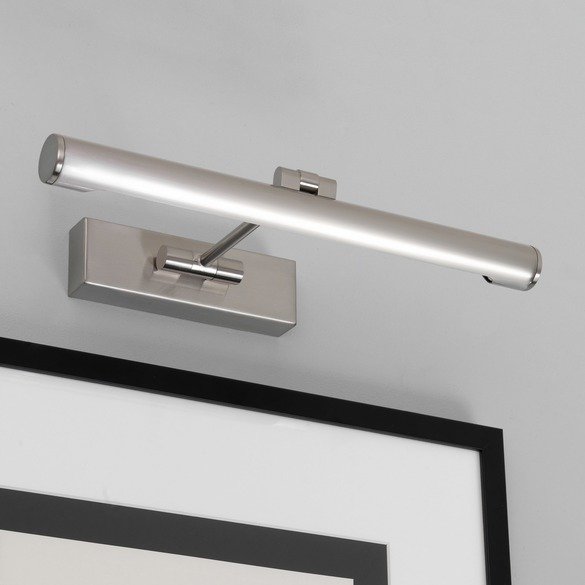
Framing your prints is also a matter of personal style. Consider that further down the line, you may want your prints to stand alone, so it is often best to choose something that supports the style of each print, rather than have them all the same.The frames must compliment your chosen colour palette, yet don’t all have to be the same style. The beauty of the gallery wall, is that it is all about you and what reflects your tastes.Amongst your chosen prints there may be some key pieces that you want to stand out over others or you may want to shine a row of lights over your entire display. A picture light, such as the one below, can be used on its own or to cover the top row of prints to provide a soft light over your artwork.
When you have all your art framed and ready to go, it’s easy want to get straight into getting it on the wall for all to see. With such a big project, it is much better to have a practice before you commit to the final task. Do this by measuring out the same sized wall space you wish to use onto the floor and work from there. Start by placing your largest piece of art and add in the others around it working outwards towards the edges. Looking at it this way, you can see which pieces complement each other and should be paired closely together and where each piece should sit to tell your story. Keep rearranging your prints until you are happy and remember to take pictures before moving onto the last step.
Using a pencil, mark on the wall where you want your pieces to go before you get the hammer out. Again, start with the largest piece and if you don’t want it to overpower the wall, hang it off centre to draw the eye away from it as the star of the show. Two or three layers of art works best for a clean simple look or for a more dazzling display, choose pieces that cover an entire wall. To prevent breakages, keep your art around eight inches away from any furniture, and most of all, enjoy the creative process.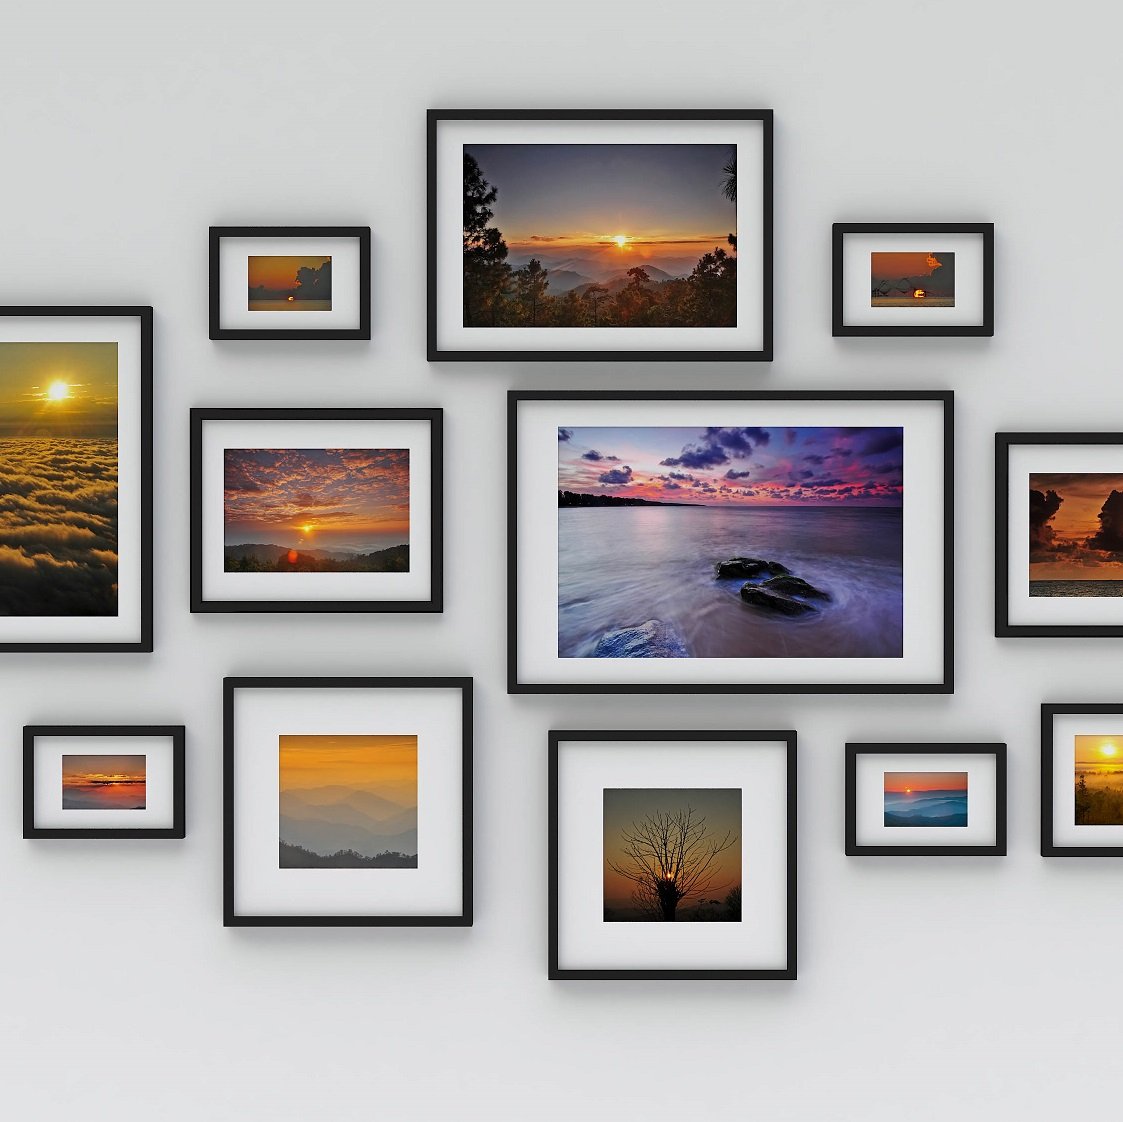
For further ideas on how to use light to highlight the art in your home, take a look on the First Choice Lighting website, or get in touch with the team to ask for our expert advice or suggestions at any time.